After playing with some designs of a tattoo for members of our bike gang, I had the idea of trying to adapt what I'd come up with into a sprayable stencil that could either be applied directly or used to make stickers.
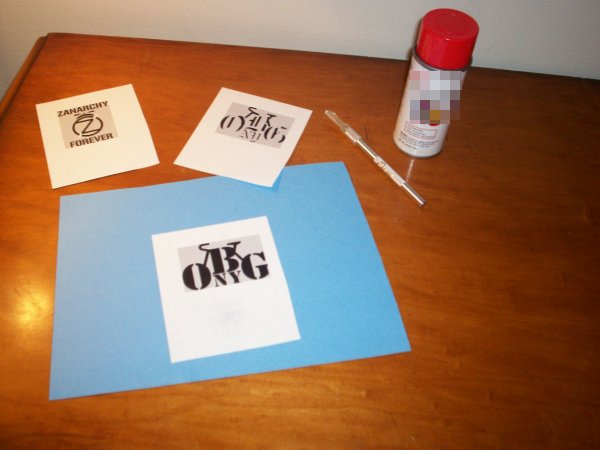
I came up with two versions, one using classic stencil lettering and the other using lettering closer to the Old English typeface from my favorite tattoo design. Just for fun, I also threw together a zanarchist symbol and slogan. Years ago, I'd done acetate stenciling for airbrushing, and I had an idea that this would be different.
The first problem I ran into was when I saw how small they'd printed out. I'd deliberately layed them out to be about 4" x 3", because I think they'll have to fit in stickers around that size. I guess I just didn't really understand how small that would make some of the details in my designs. I stuck the paper stencil to card stock (I think that's what it's called) with spray adhesive.
I tried cutting the block lettered one first. I ended up breaking the "bridge" pieces in two or three places, but everything was still connected in at least one place so it held together, flimsily. I think the Old English one will go better as there's more negative space in the design (i.e., smaller holes in the stencil), but I'll probably have to drop the lettering from the zanarchy one entirely.
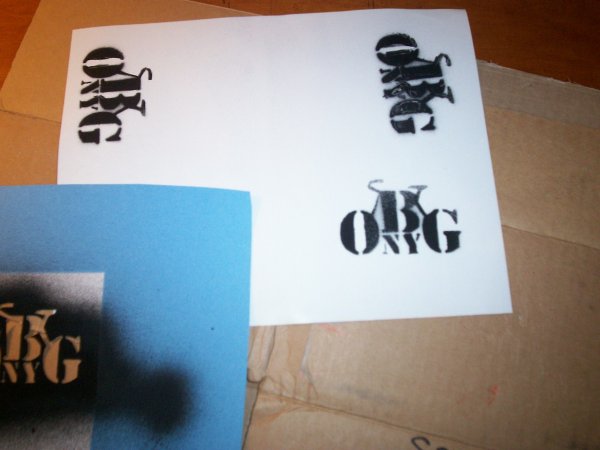
I sprayed three quick ones out on white paper. I used way too much paint at first (the sideways one in the upper right), but my third one (right-side up) looks pretty good. The details I wasn't sure would come through, like the serifs on the "NY," are relatively clear: the paint just goes anywhere you let it. The key is to do just one swipe across of the paint can. I can see why this technique is popular in street art, as it only takes a second.
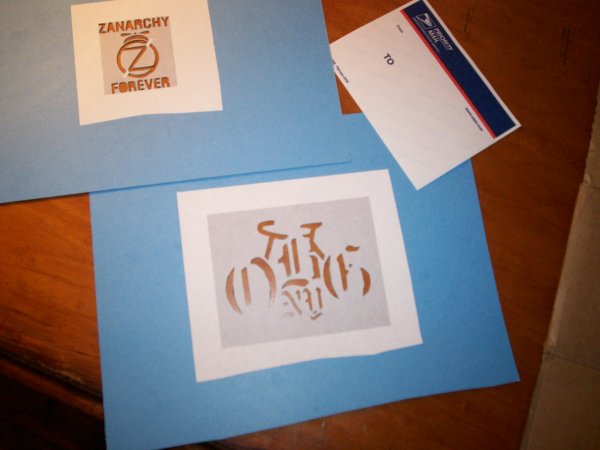
I cut the zanarchy stencil, but couldn't make the letter details work. Just too small. The result is legible though. I printed out the Old English style gang logo at about twice the size as before. I grabbed a couple labels to make stickers, and the new larger one would fit perfectly in one of them, while the smaller patterns would fit nicely into half a label. I don't think I need to be using material this thick...it's a bit of a pain to cut. I basically want something just a bit stiffer than plain printer paper.
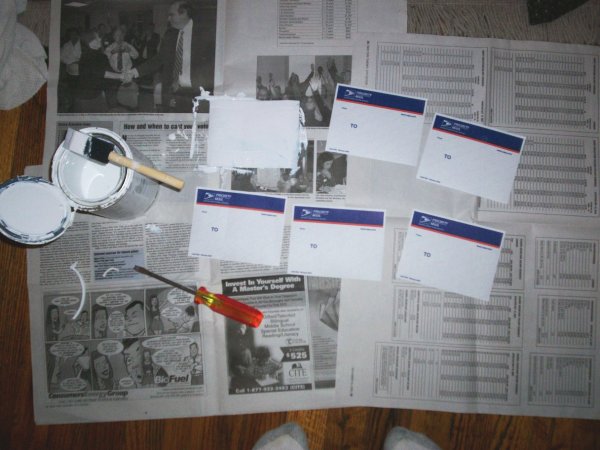
To cover up the existing printing on the labels, I brushed on a layer of white latex paint. Being water based, it tended to bleed the colors it was supposed to be covering, and it went on quite thick and curled up when dry. I think spray paint would have worked better for this step, but I didn't have any good background color on hand.
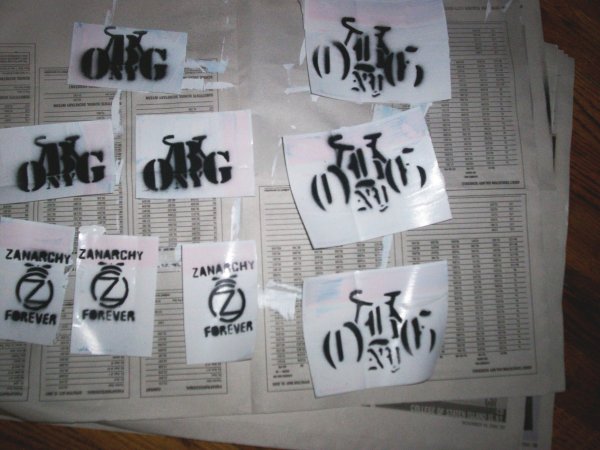
I sprayed on three of each pattern, going two to a label for the small ones and then cutting them in half. They look pretty good, but they are a bit clunky going on, thanks to the thickness of the white layer. I am basically doing this backwards: the background should be a thin spray layer, to keep the sticker light and flexible, and the foreground should be latex paint or some sort of ink, rollered on to keep it neat. I also want to play with some different colors.
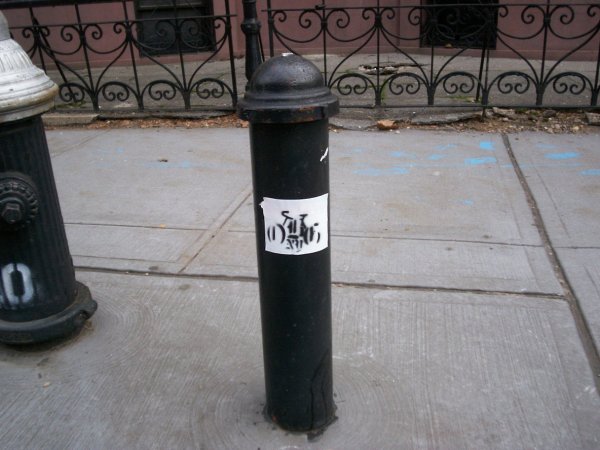
I used up all of my first batch of stickers. Here's one out in front of my building, marking our territory.
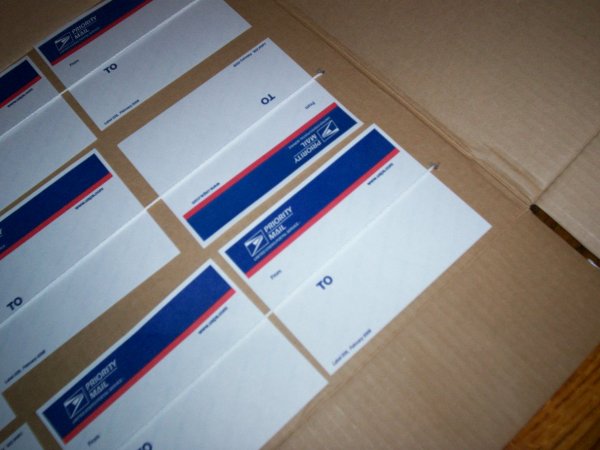
Rather than brushing a background layer of white on each of my next stickers, I decided to roller them. (As I said above, spraying would probably work best, but I have all this white paint sitting around and I'm cheap.) To prevent them from just sticking to the roller and making a mess, I strung some nylon twine through a piece of cardboard to hold them in place.
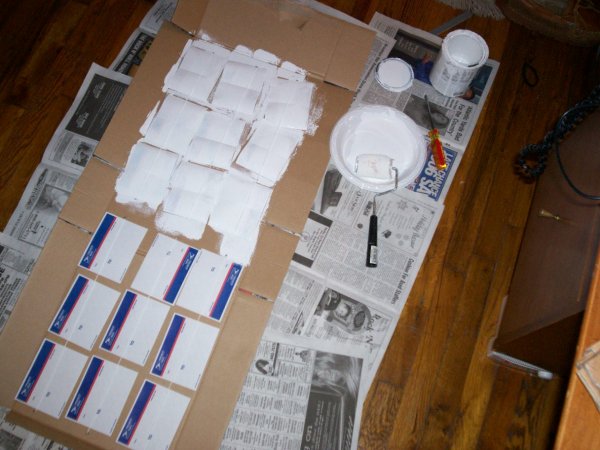
I loaded up 18 at a time, hit them each with the paint, and set them aside to dry. I did three batches like this in just a couple minutes (finding space for them to dry was the hardest part!), giving me 54 blanks to work with.
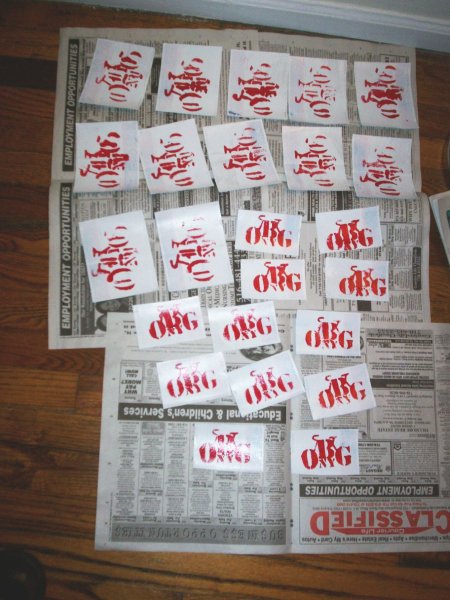
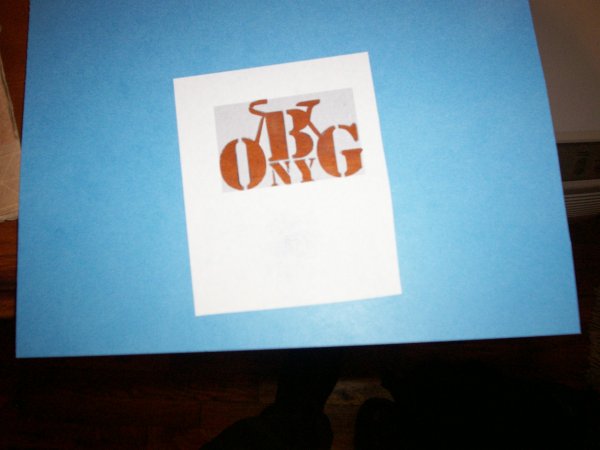
I went with rollering for the foreground this time as well. I did 12 each of the big and little designs in glossy red, with somewhat mixed results. The roller really soaks up a lot of paint, and it can put enough down so that it bleeds under the stencil a bit, smudging the details on the next application. If I cleaned it up a bit after each couple, and didn't use too much paint, they came out quite a bit cleaner.
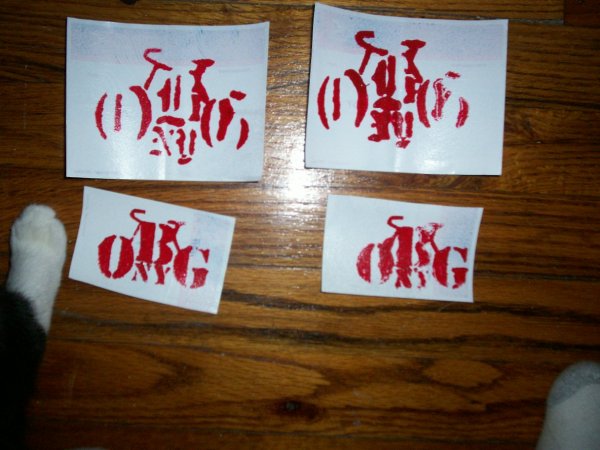
In the photo above I've placed the cleanest of each design alongside the sloppiest. I actually like some of the smudging: the "NY" blot in the large design looks pretty bad, but the details on the "B" look cool and abstract, less legible in (I think) an interesting way. The smaller ones generally came out better, I think because the detail level is more consistent across the whole design.
I'm working on a new (also bike-related) design, and I'll try to keep some of these issues I've encountered in mind as I go, making better use of negative space and working at a consistent level of detail. It's interesting: these are just general principles that anyone doing any kind of visual representation at a novice level grapples with, but in the specific case of stencils, fucking them up has immediate practical consequences when you get to the application step.
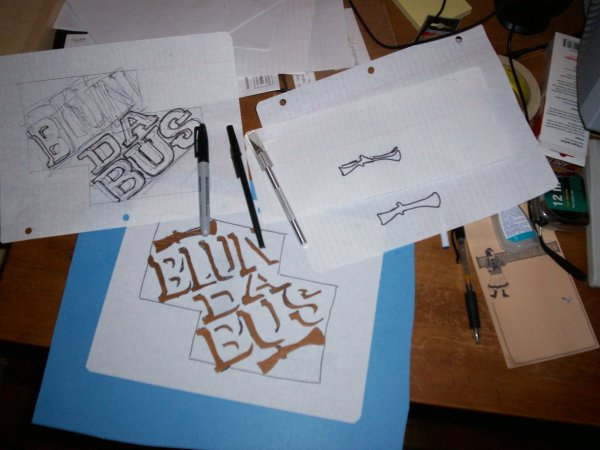
I recently came up with a new rap persona, "Blun da Bus," and today I threw together an emblem stencil for him and made up some stickers. This was my fastest turnaround: I spent a half hour or so during my lunch doing the design (taken from a photo), then left right after work at five to print it out at the library, came back to cut it, and by the time I had to leave at seven I'd painted them up.
I know doing big images with multiple stencils is a thing people do, but I don't know about stickers that fit together that are painted with a single stencil. I'd like to eventually try a multi-stencil design where each stencil covers multiple stickers, especially in a non-rectangular layout. But this is a start.
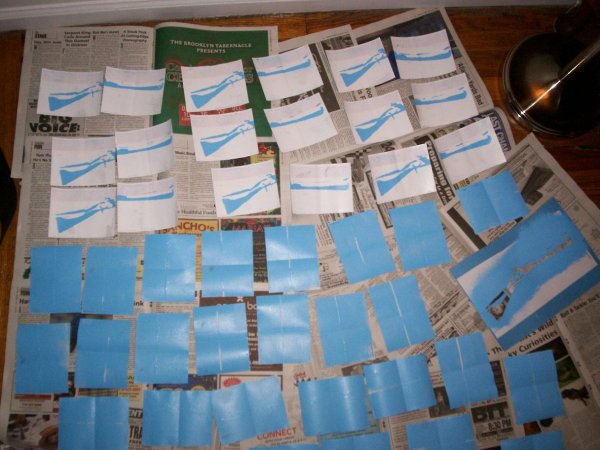
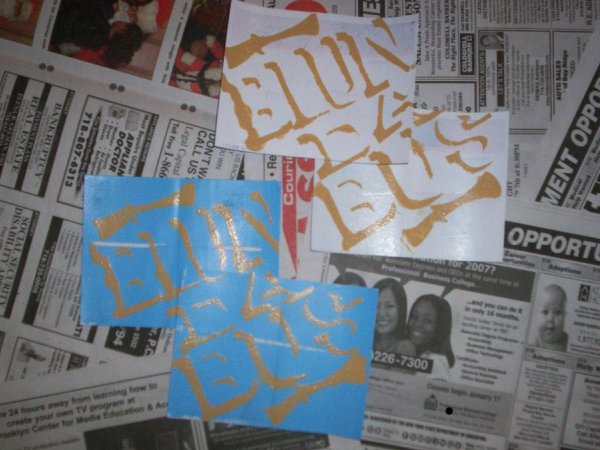
I should have done this when I was printing red as well, but while I had the blue paint out I did up a couple batches of blue background stickers.
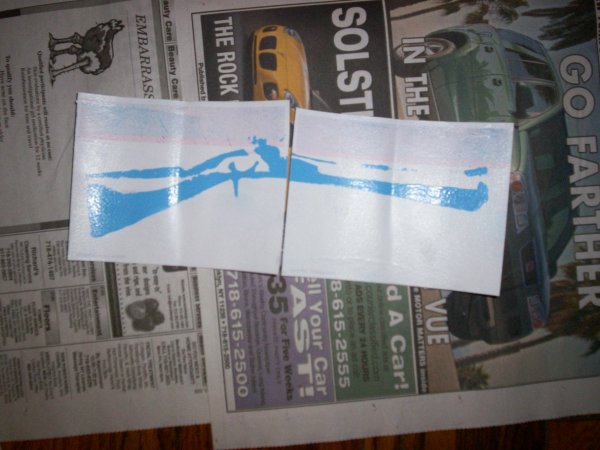
Here's a close-up of the two-sticker blunderbuss image. I think it looks alright...maybe as a shadow with an offset foreground in another color?
I've put up a couple of the blue Blun double stickers, and they've gotten took down right away each time. I was hoping the old-fashionedness of the gun would make it less of a threatening symbol, but I guess any weapon symbol can cause offense, especially out of any context like that. So I had this idea of another combo sticker that would hopefully be more acceptable.
Again the design spanned two stickers, but this time they wouldn't fit together square, but rather share an overlapping corner. This was also the first design I did freehand. I sketched in pen, then outlined in permanent marker and traced shadow shapes in more marker. The rest was the same, spray adhesive and knife. Not a terrible result, though the L and S are a bit squished.

I went with a khaki color for the foreground. My ex-girlfriend had bought the paint to do the trim in what was the office and now is my bedroom, and we got exactly 14" finished before putting the project on permanent hold. So I have a lot of the stuff. It looks good with the blue blanks. I did four sets each on white and blue fields, then did up 36 khaki blanks.
Close-ups of the two color schemes when they're lined up.
